
A hands-on guide to deploying your own AI assistant on a cloud VM, powered by Antigravity 2.0 and accessible from anywhere through WhatsApp.
From Hermes to Antigravity
A few days ago, I published a step-by-step guide on deploying the Hermes AI agent on GCP. The experience was genuinely exciting, having an autonomous agent running on a cloud VM, accessible through WhatsApp, felt like a glimpse into the future of how we’ll work with AI.
But as much as I enjoyed Hermes, something kept pulling me back. I’m a fan of Antigravity 2.0. Its deep integration with the development workflow, its ability to read, write, execute, and reason across an entire codebase, nothing else comes close for me. As a Google Developer Expert working for a Google reseller, Antigravity is genuinely the tool I use more and more for coding but also for performing analysis and various tasks.
So the question became obvious: why switch to an external agent platform when I could bring the power of Antigravity itself to the cloud?
That’s how OpenGravity was born.
The repository is public and available here: github.com/St3ph-fr/OpenGravity
Why this matters: The real benefits
Before we dive into the setup, let me share why this architecture is genuinely compelling, going far beyond just “it’s cool.”
🌍 Your Agent, Everywhere
With Antigravity running on a cloud VM and OpenGravity bridging it to WhatsApp, your agent becomes omnipresent. Waiting for a train? Ask it to check the status of a deployment. At lunch? Have it research a technical topic and summarize findings. In a meeting? Quickly trigger a script on your dev environment.
You don’t need a laptop; you don’t need SSH. You just text it.
💰 Cost-Effective: Use Your Existing Subscription
This is a detail that matters a lot in practice. When you use Antigravity through OpenGravity, you consume your AI Pro subscription quota, not per-token API charges. If you’re already paying for an AI Pro subscription, this is essentially “free” compute intelligence on top of a small VM cost. No surprise bills; no token counting.
🔒 A Safe Sandbox for Your Agent
Here’s something I learned from the Hermes deployment: having an agent run on a dedicated cloud VM is actually a significant safety advantage. The agent can freely execute commands, write files, install packages, compile code, and if anything goes wrong, it’s contained to that VM. Your personal machine stays untouched. The VM is disposable; that’s a real benefit when you’re letting an autonomous agent run tasks.
✋ You Stay in Control
Even though the agent runs autonomously, OpenGravity includes a human-in-the-loop approval system. When the agent wants to execute a sensitive command, it pauses and sends you a WhatsApp message asking for permission. You reply with a thumbs up 👍 or thumbs down 👎. Simple, fast, and secure.
📺 Demo
https://medium.com/media/63d4fa47e31a9a7578a8c7054ad0edc6/href
OpenGravity, setup guide
Step 1: Set up your cloud VM
If you followed my previous article on deploying Hermes on GCP, the foundation is exactly the same. You need a Linux VM running on a cloud provider.
What you need:
- A GCP Compute Engine instance (or equivalent on AWS/Azure)
- Recommended machine type: e2-medium (2 vCPUs, 4 GB RAM), which is sufficient for Antigravity and the WhatsApp bridge
- OS: Ubuntu 22.04 LTS or Debian 12
- Estimated cost: ~$25–35/month for an always-on instance
I won’t repeat the full VM creation steps here; the Hermes guide covers the GCP setup in detail (creating the instance, firewall rules, SSH access). Follow those steps to get your VM up and running, then come back here.
Step 2: Install Antigravity 2.0 on Linux
Once your VM is ready, head to the official download page: antigravity.google/download
Follow the Linux installation instructions on that page. The installation will set up:
- The Antigravity CLI and agent runtime
- The agentapi binary, which is used by OpenGravity to communicate with agent sessions
- The configuration directory at ~/.gemini/config/
After installation, verify everything is working:
antigravity --version
Launch Antigravity in the interface and authenticate with your Google account when prompted. This is where your AI Pro subscription comes in, as the agent will use your subscription quota, not pay-per-token billing.
Step 3: Install OpenGravity: Let the agent handle the setup
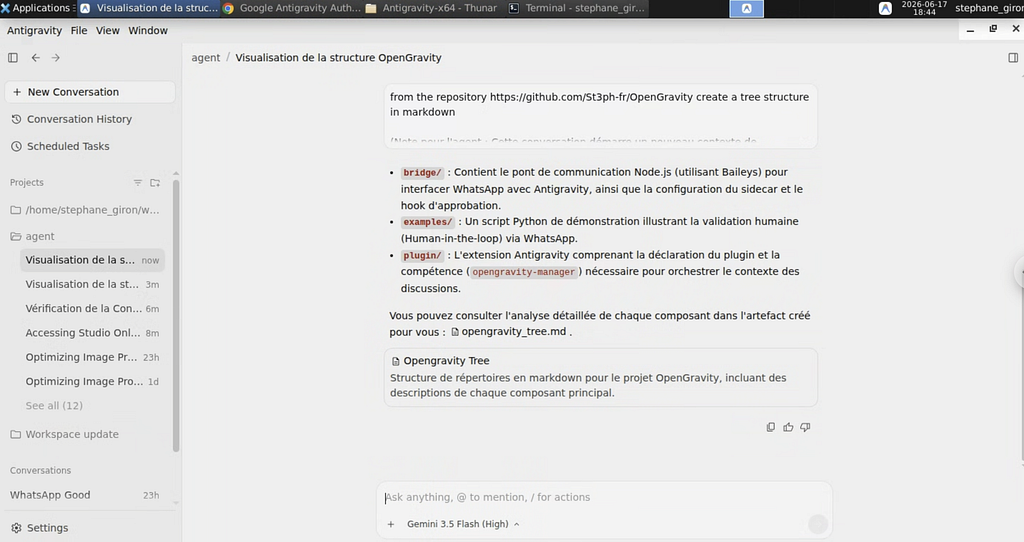
Here is where the magic of Antigravity 2.0 comes in. Instead of walking you through copy-pasting code block by code block, we are going to let Antigravity set up the entire integration itself.
By using Antigravity to perform the setup, we also create a dedicated project. This centralizes all the files and configurations, making it extremely easy to manage, update, and extend the project in the future.
Launch and Prompt the Agent
Open the Antigravity 2.0 application on your machine (or start it via the terminal with the antigravity command). Create a new project for OpenGravity, and then prompt the agent with the following:
I want to set up the OpenGravity WhatsApp bridge sidecar and plugin. Here is the repository: https://github.com/St3ph-fr/OpenGravity.
Please clone it and follow the README to set up the sidecar files and the plugin configurations. I want to use pairing code authentication instead of QR code scanning for convenience, and my WhatsApp phone number is +33XXXXXXXXX.
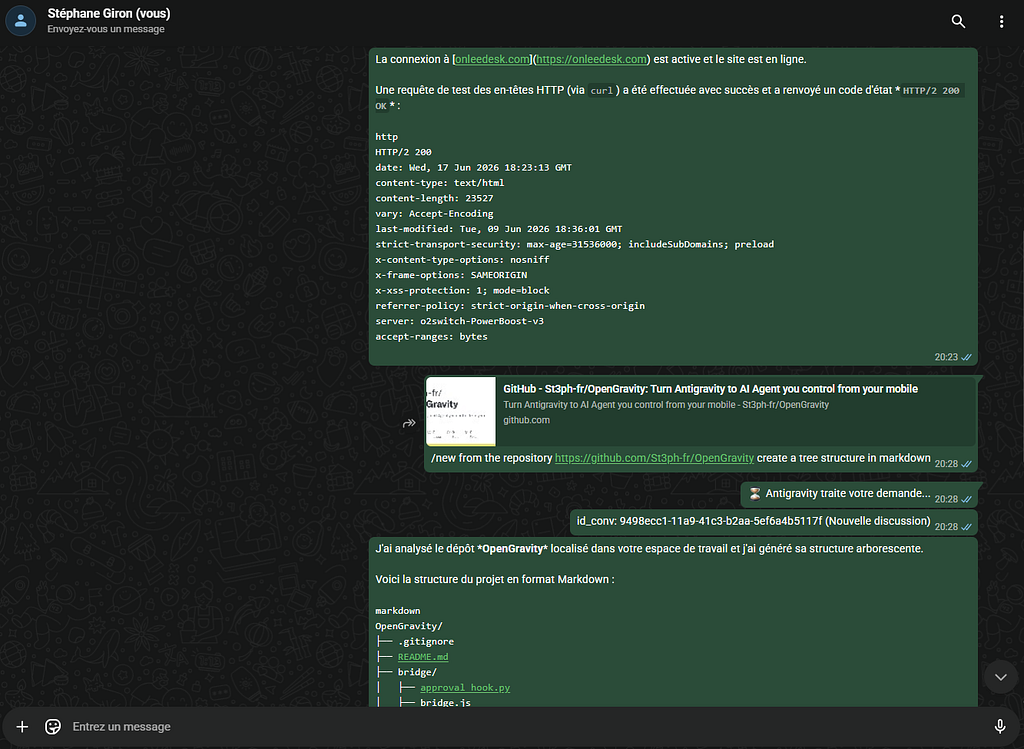
The agent will read the repository code and automatically execute the required actions:
- Clone the repository into your project space.
- Copy the bridge sidecar files (bridge.js, sidecar.json, package.json) to the correct Antigravity sidecar directory at ~/.gemini/config/sidecars/whatsapp-bridge/.
- Run npm install inside the sidecar folder to pull in all dependencies (like @whiskeysockets/baileys).
- Copy the plugin/skill configuration files to your plugins folder at ~/.gemini/config/plugins/opengravity/.
- Register the whatsapp-bridge sidecar in your global ~/.gemini/config/config.json file.
- Configure the WHATSAPP_PHONE_NUMBER environment variable in the run configuration.
WhatsApp Pairing Code Authentication
Scanning QR codes in a remote headless terminal can be clunky. Thankfully, the WhatsApp bridge code supports generating a simple 8-character pairing code directly.
Since the agent has configured WHATSAPP_PHONE_NUMBER with your number, you can now launch the bridge manually once to request the pairing code:
cd ~/.gemini/config/sidecars/whatsapp-bridge
node bridge.js
Instead of showing a QR code, the terminal logs will display your association code:
=========================================
VOTRE CODE D'ASSOCIATION WHATSAPP : XXXX-XXXX
=========================================
On your phone:
- Open WhatsApp → Settings → Linked Devices → Link with phone number instead (or Link a Device and select phone number pairing).
- Enter the 8-character code displayed in your terminal.
Once WhatsApp shows the connection is established, press Ctrl+C to stop the manual process. The authentication state is saved in auth_session/, and the sidecar will run automatically in the background going forward.
Now restart Antigravity. The WhatsApp bridge sidecar will launch automatically as a background service.
Step 4: Start chatting with your agent
Open WhatsApp on your phone and navigate to your self-chat (the chat with your own number). Send a message:
Hello! What can you do?
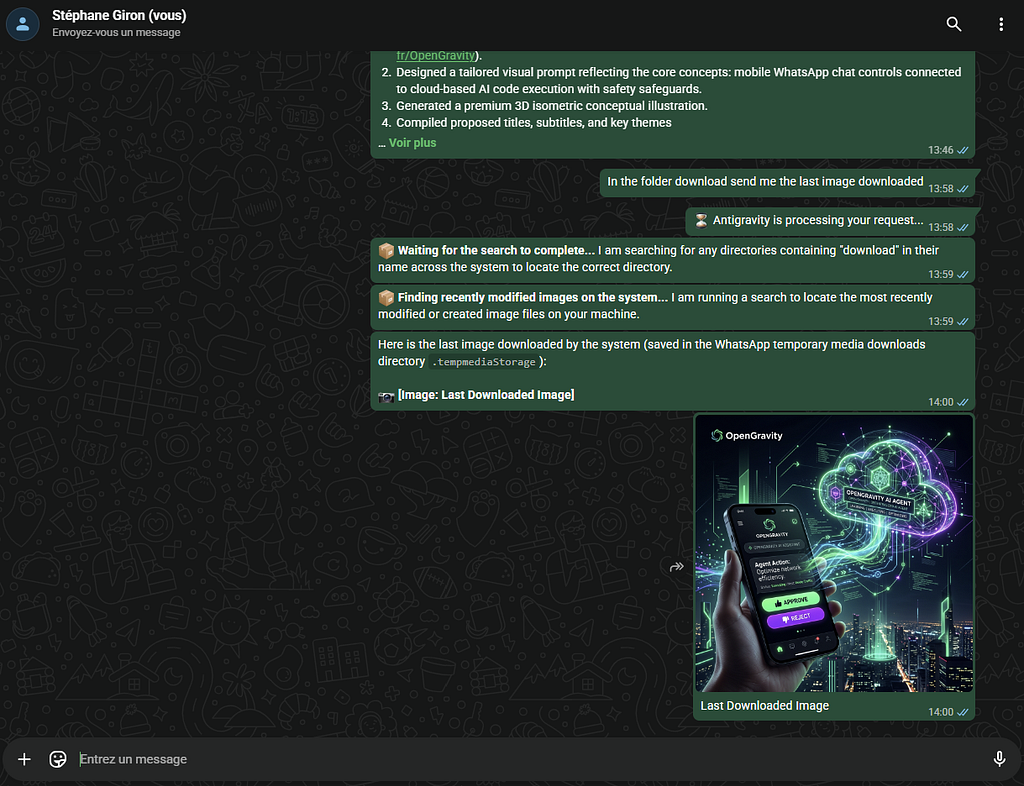
Within seconds, your Antigravity agent will respond, right there in WhatsApp.
The agent has the full power of Antigravity, including file system access, terminal execution, web search, code generation, and multi-step reasoning, all accessible from your phone.
Smart conversation management
OpenGravity handles conversation context automatically:
- Within 1 hour: Your messages continue the same conversation thread. The agent remembers everything.
- After 1 hour of inactivity: A fresh conversation is automatically started, accompanied by a system note so the agent knows the context has changed.
- Project switching: If you change the projectId in the sidecar configuration, the next message automatically starts a conversation under the new project.
- Manual control: Use /new to force a fresh start, or /reply <id> to jump back into any previous conversation.
Human-in-the-Loop Approvals
When the agent needs to execute a command, it sends you an approval request:
⚠️ [OpenGravity Authorization Request]
Tool: run_command
Command: npm run build
Reply with:
• 👍 to allow
• 👎 to deny
Just tap the emoji. The agent waits for your decision before proceeding. This keeps you in full control even when you’re not watching the terminal.
What’s next: Extending the agent’s capabilities
OpenGravity as it stands today is a functional, powerful bridge. But it’s just the beginning. Here’s what’s on the roadmap:
🔗 Google Workspace CLI integration
Connect the agent to your Google Workspace, including Gmail, Calendar, Drive, and Docs. Imagine telling your agent: “Schedule a meeting with the team for Thursday and draft the agenda in a Google Doc.” The plumbing exists; it just needs to be wired up.
⏱️ Background tasks & autonomous operations
Give the agent the ability to run scheduled tasks and long-running background jobs. Monitor a service, run nightly builds, generate daily reports, all without you sending a single message. The agent proactively does the work and notifies you when it’s done.
🧩 Extended skills & plugins
OpenGravity’s plugin system means you can teach your agent new capabilities. Custom skills for your specific workflow, such as deploying to staging, running test suites, parsing logs, and managing infrastructure. The skill files are simple markdown instructions that the agent follows.
The bigger picture: Agents as team members
I want to step back from the technical details for a moment and share what I truly believe is happening, and where projects like OpenGravity fit in the bigger picture.
Agents are the next fundamental shift
We’ve seen waves of transformation in tech: cloud computing, mobile, DevOps, and AI-assisted coding. Autonomous agents are the next one. Not chatbots, and not co-pilots that wait for you to press Tab. We are talking about real agents that can reason, plan, execute, and report back.
What I’m building toward
OpenGravity is a piece of a much larger puzzle. The vision is this:
An AI agent should be a real member of your team.
Think about what that means:
- It needs to communicate. That’s what the WhatsApp integration solves; a natural, always-available communication channel. In the future, it could also be Slack, email, or any other channel your team uses.
- It needs a “desk.” A cloud VM gives the agent its own workspace, consisting of its own file system, its own terminal, and its own environment, allowing it to work independently without stepping on anyone’s toes.
- It needs an identity. This is the next frontier. Imagine the agent having its own Google Workspace account; a real email address, a calendar, and access to shared drives. It can receive tasks via email, update shared documents, and participate in the team’s workflow.
- It needs a role. Just like any team member, the agent needs defined responsibilities, permissions, and skills. Antigravity’s skill system is the foundation for this; you define what the agent can do, how it should behave, and what guardrails to enforce.
The future of work with agents
I believe that within the next few years, we’ll see organizations where agents are integrated into teams alongside humans. We are not replacing people, but augmenting them. We will have an agent that handles the tedious operational tasks, monitors systems overnight, prepares research before a meeting, or drafts documentation after a sprint review.
For that to work, we need several things:
- Communication channels: ✅ OpenGravity (WhatsApp today, more channels tomorrow)
- An isolated workspace: ✅ Cloud VM with full system access
- Tools and capabilities: ✅ Antigravity’s rich skill system
- A persona and identity: 🔜 Google Workspace integration, team roles
- Trust and safety: ✅ Human-in-the-loop approvals, sandboxed execution
This is a long-running effort. Building the right tools, defining the right skills, crafting the right persona; it all takes time. But I’m convinced this is the direction we’re heading, and OpenGravity is my first concrete step toward making it real.
Conclusion
OpenGravity gives me an always-on, always-available AI assistant that lives on a cloud VM and responds to my WhatsApp messages. It uses my existing Antigravity subscription, runs safely in an isolated environment, and keeps me in control through approval workflows.
If you’re an Antigravity user who wants to take your agent beyond the IDE and into the real world, give OpenGravity a try.
🔗 Repository: github.com/St3ph-fr/OpenGravity
The setup takes about 20 minutes; the possibilities are endless.
If you found this article useful, feel free to give it a clap 👏 and share it with others who might be interested in autonomous agent architectures. And if you build something cool with OpenGravity, I’d love to hear about it!
OpenGravity: Turn Antigravity into your autonomous cloud agent, controlled from WhatsApp was originally published in Google Cloud – Community on Medium, where people are continuing the conversation by highlighting and responding to this story.
Source Credit: https://medium.com/google-cloud/opengravity-turn-antigravity-into-your-autonomous-cloud-agent-controlled-from-whatsapp-df6cc8b84404?source=rss—-e52cf94d98af—4


