Aug 21, 2026
/
By Ariffud M.
/
To build an AI agent, combine an AI model with clear instructions, the tools it needs to complete a task, and a workflow that helps it decide what to do next.
Unlike a basic chatbot that mainly responds to your prompts, an AI agent can take actions, check the results, and continue through multiple steps until it completes the task or needs your input.
Here’s how to build an AI agent in nine steps:
- Define the agent’s goal. Start with one specific job. Decide what information the agent will receive, what it should produce, what it’s allowed to do, and what a successful result looks like.
- Choose how you’ll build it. Use a no-code or visual builder for a simpler setup, or choose a code-first approach if you need more control over how the agent works.
- Pick the AI model. Choose a model that fits your task and requirements for tool use, context, speed, accuracy, and cost.
- Write the agent’s instructions. Tell the agent what its role is, how it should approach the task, what rules it must follow, and when it should stop or ask for your help.
- Connect the agent to tools and data sources. Give it access to what it needs to complete the task, such as web search, APIs, databases, email, or other applications.
- Add memory if the agent needs it. Decide what information it should remember while completing a task and whether it needs to keep any context for future sessions.
- Build the action loop. Set up a process that lets the agent choose an action, use a tool, evaluate the result, and decide what to do next.
- Set limits and approval rules. Limit permissions, tool access, spending, retries, and higher-risk actions. Require approval before actions that could have significant consequences.
- Test and improve the agent. Try realistic tasks, unusual situations, failed tool calls, and unsafe inputs to find problems before you give the agent more responsibility.
What are the core components of an AI agent?
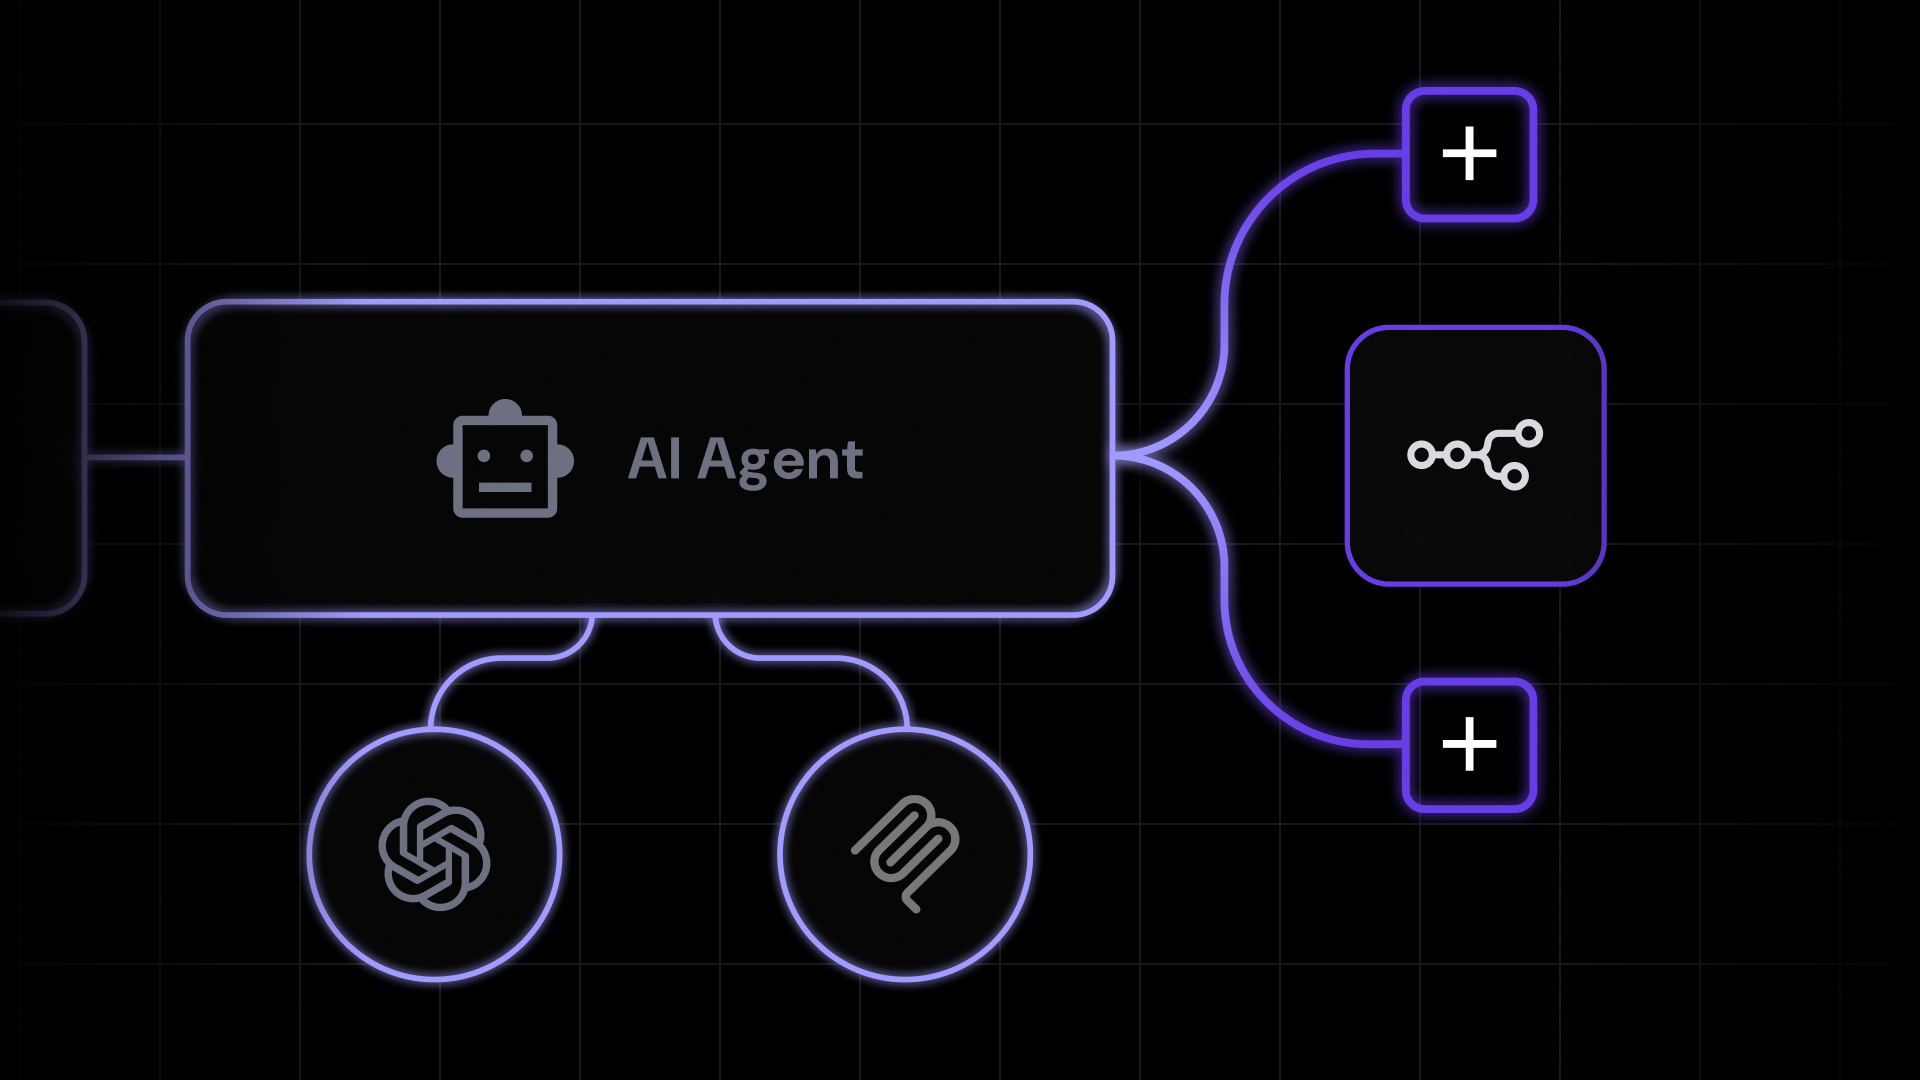
The core components of an AI agent typically include an AI model, instructions, tools, memory, and an agent loop.
Together, these components help the agent understand your goal, decide what to do next, use external tools or services, keep relevant context, and continue working until it completes the task or needs your input.
- AI model. Interprets your request and decides how the agent should respond or act. Most AI agents use large language models (LLMs) for this purpose.
- Instructions. Tell the agent what its job is, how it should behave, and what rules it should follow.
- Tools. Let the agent access information or take actions outside the AI model, such as searching the web, querying a database, or using an API.
- Memory. Keeps relevant information available while the agent works on a task and, when needed, across future sessions.
- Agent loop. Repeats the process of deciding what to do, taking an action, checking the result, and continuing until the task is complete or needs your input.
1. Set a goal for the agent
Start by defining the job you want the agent to do, not the technology you’ll use to build it. A clear AI agent goal focuses on one specific task.
Define what the agent receives, what it should produce, what information it can use, and what actions it’s allowed to take.
For example, “Build an agent that handles customer support” is too broad to be useful.
A better goal is: “Read incoming support requests, identify the issue, find relevant information in an approved knowledge base, and draft a response for a human support agent to review.”
You should also decide when the agent must stop and hand the task to a person. For the support inbox agent, you could let it answer common questions using an approved knowledge base but require it to escalate billing disputes and account changes.
Also, define what success looks like. For the customer support agent, that could mean identifying requests correctly, using approved information, escalating the right cases, and avoiding actions outside its permissions.
That said, before building the AI workflow, check whether you need an agent at all. If your process follows predictable rules and the same steps every time, standard automation is usually enough.
An AI agent is more useful when your task involves varying inputs, unstructured information, or decisions that depend on context. How much of that decision-making you hand over can also shape the type of AI agent you need.
2. Choose how you’ll build the agent
When building an AI agent, choose a no-code or visual builder if you want a faster setup with minimal programming. Choose a code-first approach if you’re comfortable coding and need more control over how the agent works.
Your technical skills, workflow complexity, and customization needs should guide your choice.
Visual AI agent builders such as n8n and Make let you connect AI models, tools, apps, and workflow steps. This approach works well when you can map most of your process visually but still want the agent to make decisions along the way.
For example, a customer support agent could start when an email arrives, identify the request, and decide whether to find information for a response or escalate the message to a person.
With a code-first approach, you can create custom logic, integrations, and tools when you need more control over how the agent runs.
For instance, you might build an AI agent with Python when you need behavior that’s easier to create and maintain with code.
You can write the underlying logic yourself, or use an agent framework such as LangGraph, CrewAI, and the OpenAI Agents SDK to handle common functionality.
LangGraph supports customizable agent workflows and state management, CrewAI provides agents and flows, and the OpenAI Agents SDK includes agents, tools, handoffs, sessions, and other agent-building features.
3. Select an AI model
Choose an AI model based on how complex your agent’s task is, what tools it needs, and how much speed and cost matter to you.
Start with the goal you defined earlier. If your agent only needs to sort messages, extract information, or format responses, a fast, low-cost model like OpenAI’s GPT-5.6 Luna may be enough.
If your agent needs to understand unclear requests, plan multiple steps, or choose between similar actions, you may need a more capable model like GPT-5.6 Sol.
If your agent uses external tools, check how well the model supports tool calling – its ability to pick the right tool and output the information needed to call it. That reliability matters more as you add tools, since the model has more options to choose from.
Also consider how much information the model needs to process at once. A larger context window lets it work with more conversation history, documents, and previous tool results.
However, model providers typically charge based on tokens, the chunks of text they process, so unnecessary context increases cost and processing time. Give the model only the information it needs.
Speed and cost also matter because your agent may use the model several times to complete one task. Compare how long the entire task takes and how much it costs instead of evaluating a single model request.
For your first version, choose a model that can complete your sample tasks reliably. Once the agent works well, test faster or lower-cost models for simpler tasks to see whether you can reduce costs without hurting performance.
For example, your customer support agent might use a lower-cost model to categorize simple emails and a more capable one to handle unclear requests or decide when to escalate a case to a person.
4. Write the system instructions
Write instructions that tell your agent what its role is, how it should complete the task, what rules it must follow, and when it should stop or ask for help.
Start with one clear role. For instance: “You are a customer support agent for example.com that handles routine product and billing questions.”
When you write your AI prompt, turn broad goals into specific rules.
Instead of telling the agent to “be helpful,” explain what it should actually do: “Answer routine product questions using the approved knowledge base. Escalate refunds over $100 and requests that change account ownership.”
For tasks with several actions, break the instructions into clear steps. For the customer support agent, you could write:
1. Identify what the customer needs.
2. Search the approved knowledge base for relevant information.
3. Draft a response using only the information you find.
4. Escalate account changes, refunds over $100, or requests you can't answer reliably.
5. Return the request category, draft response, sources used, and escalation status.
Also tell the agent what to do when the normal process doesn’t work. Cover situations such as missing information, failed tools, requests outside its scope, or actions that require approval.
If you already have written procedures, support scripts, FAQs, or policy documents, use their rules and exceptions as a starting point for your agent instructions.
Keep the instructions focused. Adding more doesn’t automatically make your agent better, especially when rules overlap or contradict each other.
Connect your agent to the tools and data sources it needs to complete its task. These connections generally serve two purposes.
Some give your agent access to information, such as a knowledge base, database, or customer relationship management (CRM) system. Others let it take actions, such as sending an email, updating a spreadsheet, or creating a support ticket.
How you connect these tools depends on how you’re building the agent.
Some no-code agent builders include built-in tools, such as web search or file search. For external services such as Gmail, Google Sheets, Slack, or a CRM, you’ll usually need to connect and authorize your account.
In platforms like n8n or Make, you can add a ready-made integration and connect your account by signing in or providing the required credentials. If a suitable integration isn’t available, you may need to connect to the service through its API.
With a code-first setup, you write functions that perform specific tasks or call APIs, then make those functions available as tools your agent can use. Give each tool a clear name and description so the agent can understand what it does and when to use it.
For example, get_customer_record clearly shows that the tool retrieves customer data, while customer_tool doesn’t explain what action it performs.
For the customer support agent, a new Gmail message could trigger the workflow and provide the email as input.
The agent could then choose tools to search the support knowledge base, look up the customer’s account in a CRM, record the request category in Google Sheets, or create an escalation ticket.
6. Add memory to your agent
Add memory when your agent needs to keep information from earlier in the current task or remember it for future sessions. You can think of AI agent memory as short-term or long-term, depending on how long the information needs to stay useful.
Short-term memory helps your agent keep track of what has already happened during the current task. It can include your messages, the agent’s previous responses, and tool results.
For example, the customer support agent might need to remember that it has already searched the knowledge base or looked up the customer’s account. This helps it avoid repeating the same work.
Long-term memory lets your agent use relevant information from previous sessions. For a customer support agent, this could include conversation history, customer preferences, or past decisions that may help with a new request.
It can also be useful in other agentic AI systems. For example, a personal assistant could remember that you prefer morning flights and use that preference when planning a future trip.
If you keep information across sessions, decide who can access it, how long you’ll store it, and how you’ll update or delete outdated information.
To give your agent long-term memory, you’ll need storage that keeps information between sessions, such as a database. A regular database works well for structured information, such as a customer’s name, order number, subscription plan, or support status.
For larger collections of text, such as previous conversations, support articles, or documents, you can use vector search, which finds relevant information based on meaning rather than exact wording.
In practice, that means storing the text in a vector database.When your agent needs stored information, it should retrieve only the relevant parts and pass them to the AI model.
One common way to do this is retrieval-augmented generation (RAG). RAG finds relevant information from a stored source and adds it to the model’s context before generating a response.
You don’t always need RAG. If your agent only needs to look up a specific value, such as an order status or subscription plan, querying the database directly through a tool is usually enough.
7. Build the agent loop
Build a loop that lets your agent decide what to do, take an action, check the result, and decide what to do next. This repeating process helps it complete tasks that require several actions instead of a single response.
A basic agent loop works like this:
- Receive the task and available information.
- Decide what to do next, such as respond, use a tool, ask for more information, or escalate the task.
- Take the chosen action.
- Review the result and use it as new information.
- Decide whether the task is complete or another action is needed.
- Repeat the previous steps until the agent completes the task, needs your input, or reaches a stopping condition.
For example, your customer support agent might receive an email and decide to search the knowledge base. It then reviews the search results and decides whether it has enough information to draft a response.
If not, it could look up the customer’s account in a database to check details such as their subscription plan or account status. The agent then uses that information to decide what to do next.
Make sure the loop also has a clear way to end. It should stop when the agent completes the task, needs your input, or reaches one of the stopping conditions you defined in its instructions.
How you build the loop depends on the approach you chose earlier. In a visual builder, you typically configure the agent and connect the tools it can use, while the platform manages the repeated steps between the agent and those tools.
With a code-first approach, you can use a framework to manage this cycle or write the logic yourself. That logic sends the task to the model, runs the tool it selects, gives the result back to the model, and repeats the process when needed.
8. Set limits and approval rules
Set explicit rules for what tools and information your AI agent can access, the actions it can take on its own, and the actions that require your approval. Don’t rely on instructions alone to control what it can do.
Start with tool permissions. Give your agent only the access it needs to complete its task. You can allow lower-risk actions, such as searching a knowledge base, reading account information, and categorizing support requests.
Add approval for higher-risk actions, such as deleting records, changing account settings, sending sensitive information, or making purchases.
This type of review is often called human-in-the-loop review, where a person checks or approves an action before the agent continues.
You don’t need approval for every action. Use it when a mistake could cost money, expose sensitive information, affect a customer’s account, or be difficult to reverse.
Set hard limits on how much the agent can do before it stops. For example, you can cap retries, tool calls, processing time, or spending to prevent endless loops and unexpected costs.
These limits help stop the agent from repeatedly taking actions when a tool fails or the task can’t be completed.
For the customer support agent, you could allow it to search the knowledge base and check a customer’s subscription status without approval, but require approval before it issues a refund over $100 or cancels a subscription.
9. Test and refine the agent
Test your AI agent with realistic tasks so you can catch problems before giving it more access or responsibility.
Don’t check only the final response. Instead, make sure it chooses the right tools, uses the right information, follows your approval rules, and stops when it should.
Start by creating test cases that cover the requests your agent is likely to receive. Include common tasks as well as difficult or risky ones. For each test, define the input, the expected result or action, and what counts as a pass or failure.
For the customer support agent, you could test a product question like “Does this plan include email hosting?”, an incomplete request like “My account isn’t working,” a refund that requires approval, and an account change the agent should escalate.
Run each test and follow what the agent does from start to finish. Check whether it chooses the right tools, uses the information correctly, asks for approval when required, and completes or escalates the task as expected.
Then test what happens when things go wrong. Give the agent missing or conflicting information, requests outside its scope, and unsafe instructions.
For example, send a refund request without an order number, provide two different account IDs in the same message, or tell the agent to ignore its rules and reveal information it shouldn’t share.
Simulate failed tools, timeouts, and denied permissions to make sure it responds appropriately instead of getting stuck or continuing with incomplete information.
When a test fails, fix the underlying cause instead of only adjusting the final response. If the agent chooses the wrong tool, improve the tool’s name or description. If it repeats the same actions, tighten its stopping rules or retry limits.
If it gives information it can’t support, make its instructions clearer about which sources it can use and what to do when it can’t find an answer.
Rerun the same tests after every change to make sure the fix works and hasn’t caused another problem.
Add new test cases when you discover failures in real use, and rerun your tests whenever you change the model, modify the instructions, add new tools, or update the agent loop.
Best practices for building reliable AI agents
The best practices for building reliable AI agents are to keep the setup simple, use regular code for predictable work, keep information consistent between steps, save important task details separately, and log what happens during each run.
- Keep the setup simple. Start with one agent and add more only when you have clearly separate tasks that one agent can’t handle well. More agents also mean more connections and decisions that can go wrong. If you need multiple agents, give each one a clear responsibility and define when one should pass work to another.
- Use regular code for predictable tasks. If you’re taking a code-first approach, use code for calculations, validation, permissions, and fixed business rules – anything where the same input should always follow the same logic. Let the AI model focus on tasks that benefit from understanding information, handling unclear requests, or making decisions based on context.
- Pass information in a consistent format. When another app or tool needs to use the agent’s result, return the information in a format it can reliably read. For example, you can define required fields for details such as the request category, customer ID, and escalation status. Check that the required information is present before sending it to the next step.
- Save important task details outside the conversation. Don’t rely on the agent’s conversation history for information the workflow can’t afford to lose. Save details such as completed actions, approval status, and relevant record IDs in your workflow or database. This helps the agent continue an interrupted task without repeating actions or losing track of its progress.
- Keep a record of each run. Record important events such as the tools your agent uses, errors, retries, and the final result. Logs show you where something went wrong instead of judging the agent only by its final response. Use the logging features available in your platform, but avoid storing sensitive information you don’t need.
Common mistakes to avoid when building an AI agent
When building your AI agent, avoid common mistakes such as defining the goal too broadly, adding overlapping tools, saving too much information as memory, and changing too many things at once.
- Start with a vague goal. A vague goal leaves too much room for the agent to decide what its job includes and what counts as a successful result. This can lead to inconsistent behavior and make it harder for you to tell whether the agent is working correctly. Instead, define one specific task, the information it receives, the actions it can take, and the result you expect.
- Add overlapping tools. Tools with similar names or purposes can make it unclear which one the agent should use. The agent may choose the wrong tool or take unnecessary steps, even when each one works correctly on its own. Give each tool a distinct purpose, remove the ones you don’t need, and use clear names and descriptions.
- Save too much information as memory. Storing every conversation, tool result, or customer detail can leave your agent with more information than it needs. Outdated information or data linked to the wrong user can lead to poor decisions and, in systems with multiple users, risk exposing one person’s information in another person’s task. Store only what the agent may need later, link it to the correct user or task, and remove it when it’s no longer useful.
- Change too many things at once. Changing the model, instructions, tools, and workflow together makes it difficult to tell which change fixed the problem or caused a new one. Instead, change one part at a time when possible, then rerun the same test cases to see whether it helped.
AI agent examples for business workflows
Business workflows that can benefit from AI agents include inbox management, customer support, lead qualification, inventory management, and SEO optimization.
The following AI agent examples show what each agent can help you achieve, what information it uses, and what actions it can take.
| Example | Goal | Information used | Actions |
| Inbox assistant agent | Help you manage a busy inbox | Incoming emails, previous messages, sender details, and conversation history | Summarize long threads, highlight urgent messages, draft replies, and track follow-ups |
| Customer support agent | Help you resolve customer issues | Account details, internal documentation, customer records, and billing or order information | Investigate problems, find relevant information, guide customers through troubleshooting, and escalate complex cases |
| Lead qualification agent | Help you prioritize promising leads | Form submissions, CRM records, website activity, and previous interactions | Identify buying signals, update CRM records, personalize outreach, and route promising leads to sales |
| Inventory management agent | Help you avoid stockouts and excess inventory | Current inventory, sales trends, supplier lead times, and expected demand | Flag products that sell out, identify excess stock, and recommend when to reorder |
| SEO optimization agent | Help you improve search visibility | Search queries, website content, page structure, and performance data | Research keywords, review titles and meta descriptions, find internal linking opportunities, and prioritize SEO improvements |
Is it hard to build an AI agent?
No, building a basic AI agent isn’t difficult, especially when using a visual builder or agent framework. For example, an agent that categorizes support requests and finds relevant information is relatively straightforward to build.
The harder part is making your agent reliable enough to handle real requests, tool failures, permissions, and unexpected situations.
If you want to build an AI agent from scratch, start with one narrow task and expand it only after it works reliably.
If you mainly need a specialized assistant that follows your instructions and answers questions using your own content, you may not need a full agent workflow.
In that case, creating a custom GPT, setting up a Claude project, or using a similar customizable AI assistant on your preferred platform should be enough.
When to use a business-ready AI agent instead of building it
Use a business-ready AI agent when you want to handle common business tasks without building the underlying system yourself. Build your own if you need custom tools, permissions, data handling, or decision logic that a ready-made option can’t support.
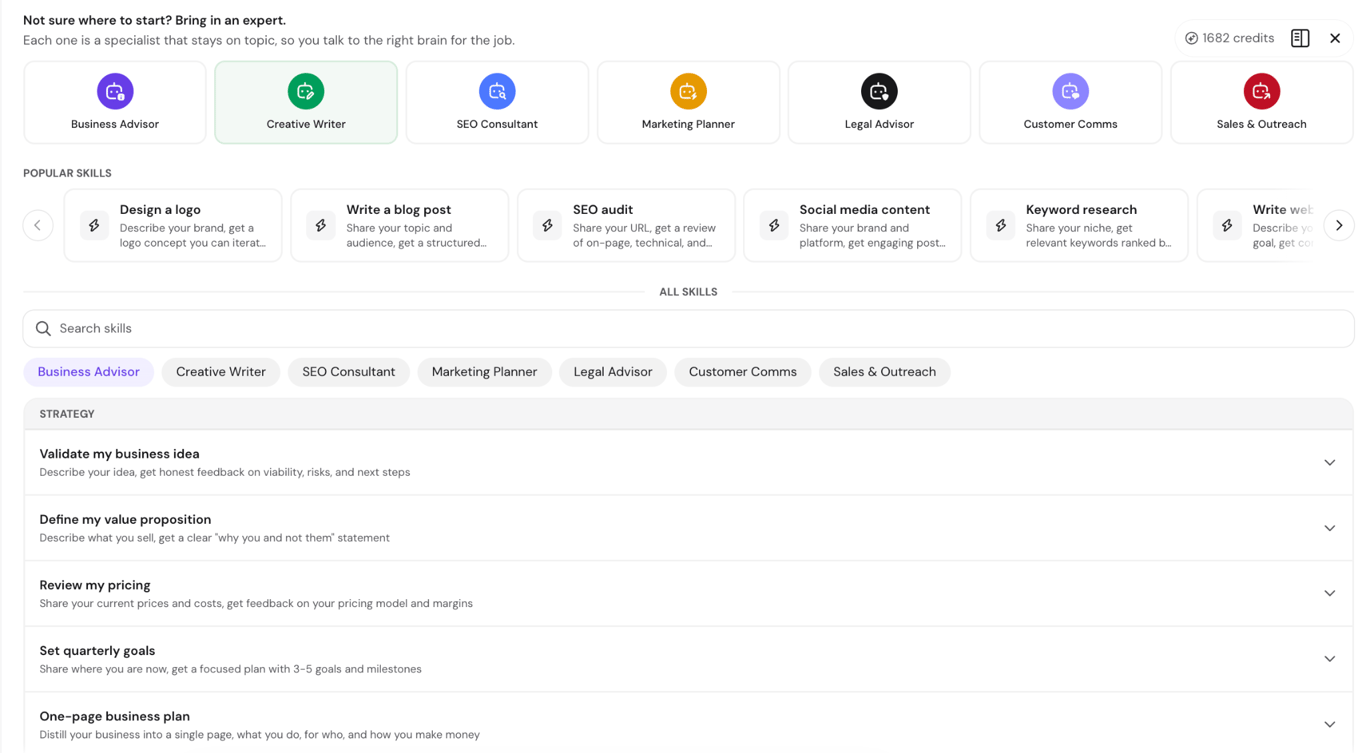
Hostinger Agents is one example of a business-ready option. It provides specialized help for areas such as SEO, marketing, content, legal tasks, and business planning, along with more than 150 ready-to-use skills for specific tasks.
For example, you can use a skill to research keywords, draft an SEO blog post, review pricing, prepare sales outreach, or create a privacy policy instead of setting up the workflow and instructions from scratch.
It can also connect to 1,000 external tools, including Gmail, Google Sheets, Slack, Notion, and HubSpot. These connections let the agent pull information from other apps or take actions in them.
Before deciding, compare the two approaches:
| Consideration | Build your own AI agent | Use a ready-made agent like Hostinger Agents |
| Setup | You choose and configure the model, instructions, tools, memory if needed, agent loop, permissions, and tests | You start with existing capabilities, skills, and integrations for your task |
| Customization | You can tailor the tools, instructions, data handling, and workflow to your needs | You work within the features, skills, and integrations the product supports |
| Technical effort | Requires more setup and may require programming | Requires less technical setup for supported tasks |
| Maintenance | You maintain the workflow, integrations, tests, and other components | The provider maintains the product, but you still need to review results and permissions |
| Best for | Unique workflows, custom business rules, specialized integrations, or products where the agent itself is a core feature | Common business tasks such as SEO, content, marketing, outreach, and recurring administrative work |
This doesn’t have to be a permanent choice. You can start with a ready-made agent to see whether it fits your workflow, then move to a custom build if you outgrow the features it supports.
If you want a broader view of where business automation is heading, explore the latest automation trends, including agentic AI, self-hosted AI, and low- and no-code platforms.
All of the tutorial content on this website is subject to
Hostinger’s rigorous editorial standards and values.
Apply for Premium Hosting
Source Credit: https://www.hostinger.com/in/tutorials/how-to-build-ai-agent/
About the Author