
Working Remotely with Google Antigravity: The Complete 3-Part Guide to Remote Control & Remote Agents
A complete, hands-on tutorial series that shows how to put Remote Control and Remote Agent features in Antigravity to work on key use cases.
I am sure that you have been in this situation that goes like this. You start a task with an AI coding agent, running a test suite, analyzing data and while it is busy doing the task, you have to walk away from your desk.
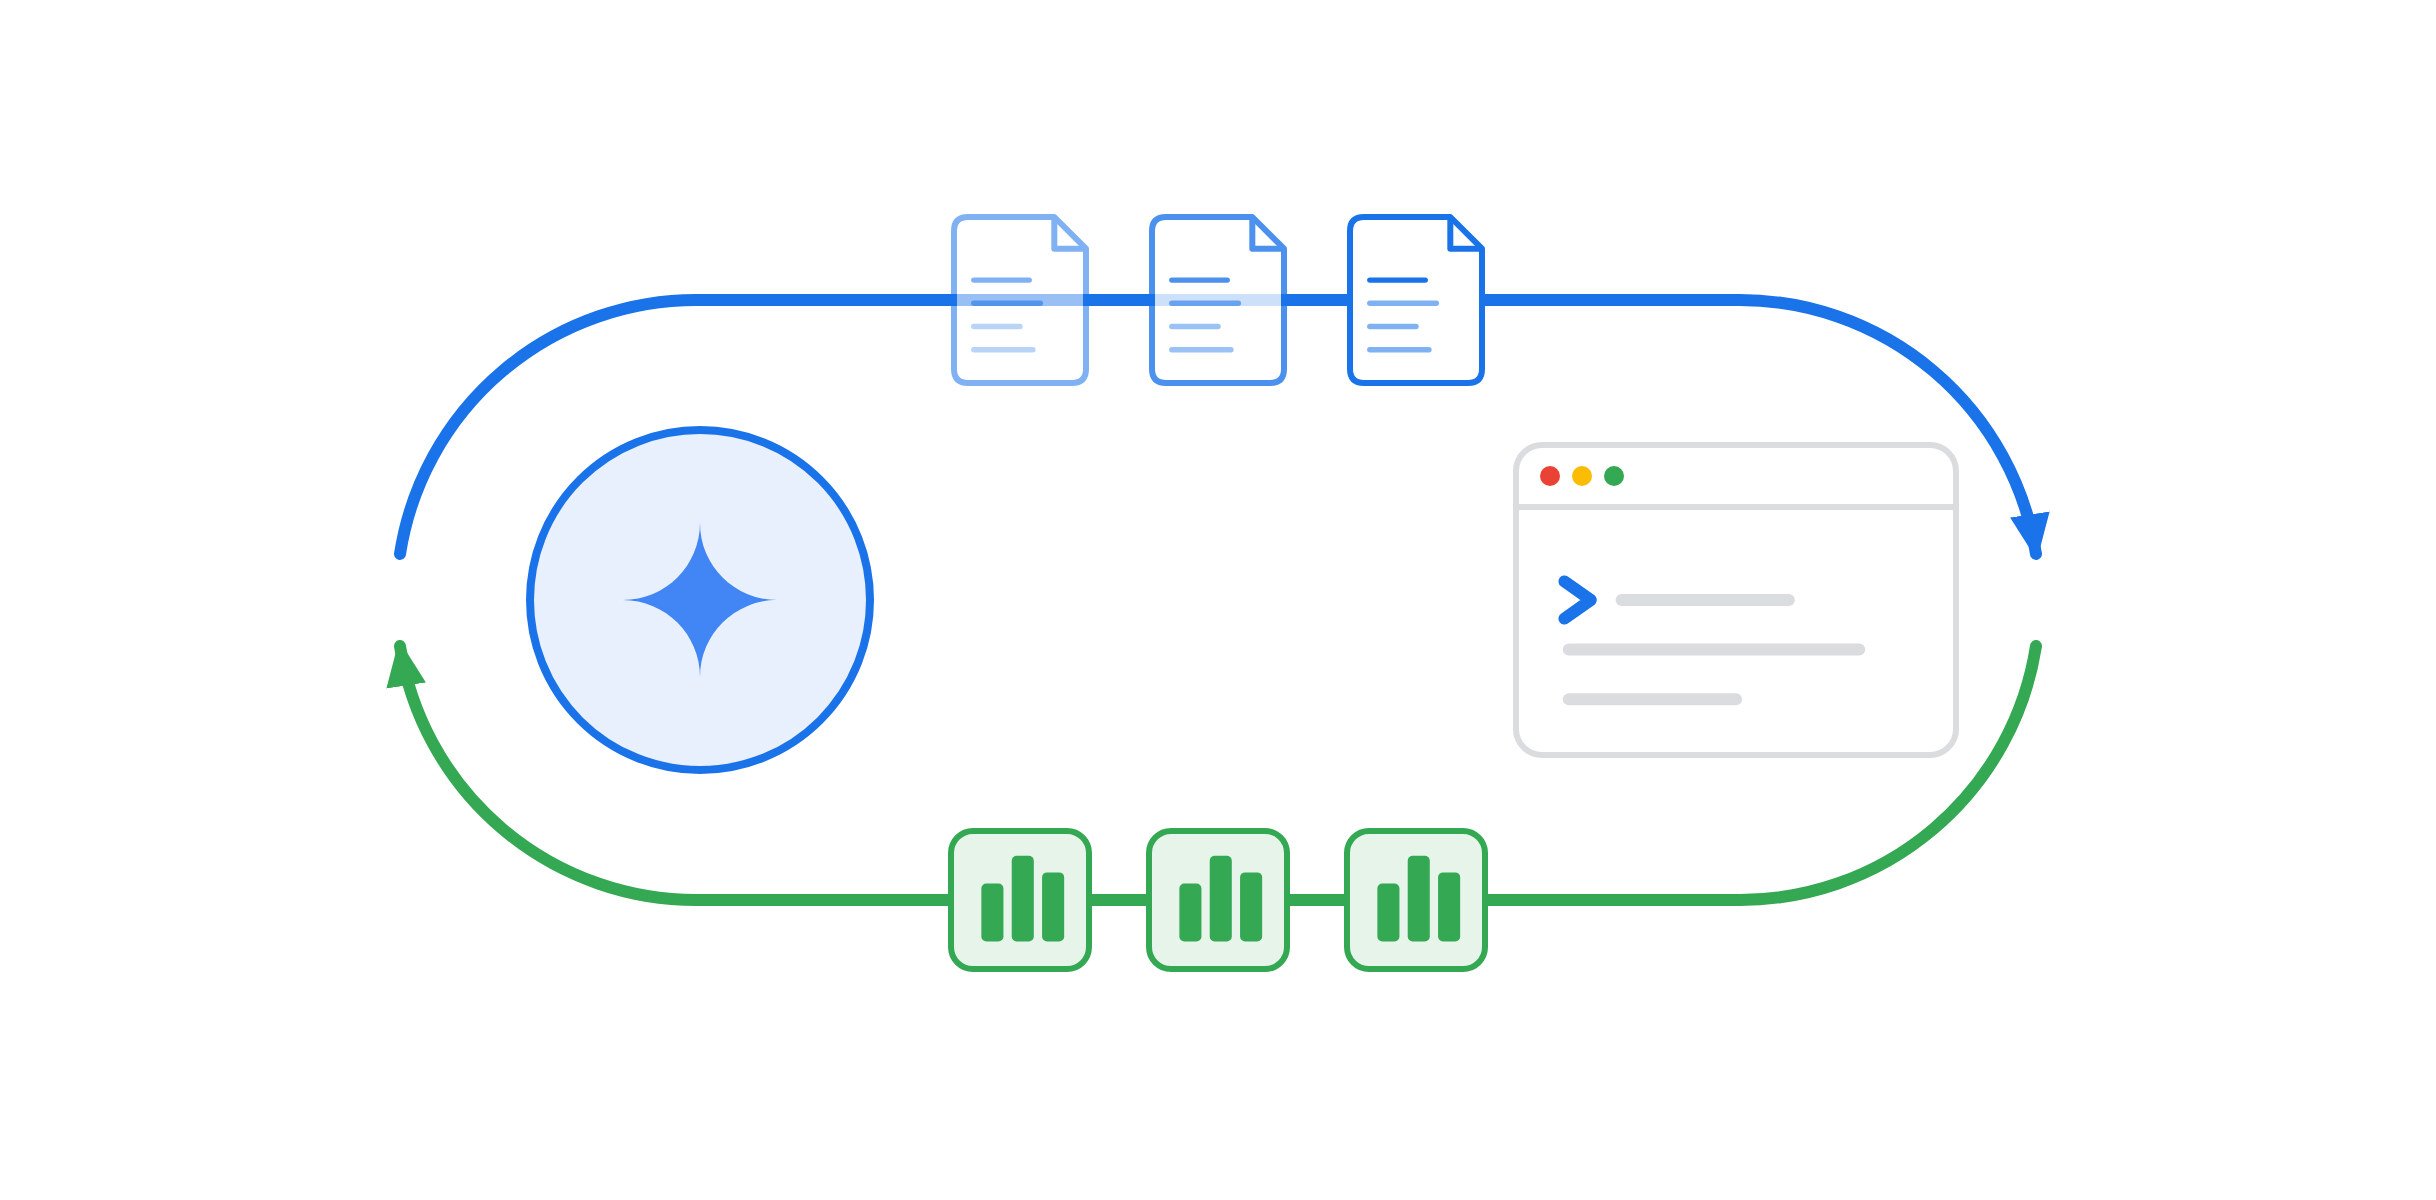
Google Antigravity gives you two ways to keep working when you are away from your desk: Remote Control and Remote Agents.
Because their names sound similar, the first thing that we will break down is what is the difference between the two and when should you use which option?
In Part 1 of this three-part guide, we will address that fact and walk through how to set up both features in under two minutes, and run a hands-on “Hello World” for each one using real files and Python scripts.
Remote Control vs. Remote Agents: The Simple Mental Model
The easiest way to remember the difference is to ask one question: “Where is the agent actually running commands?”
Option A: Remote Control = A Remote Window into Your Own Machine
With Remote Control, the agent runs on your own desktop computer, laptop, or dev server (inside the Antigravity App or the agy CLI). You open antigravity.google.com on another laptop, tablet, or phone to see and control that local session remotely.
- Does my machine need to stay on? Yes. Your host machine is doing all the work, so it must stay powered on and connected to the internet.
- What files can it see? Your local filesystem folders, uncommitted Git checkouts, Git worktrees, local .env files, and local emulators (127.0.0.1).
Option B: Remote Agents = An Isolated Agent Running in Google’s Cloud
With Remote Agents, Antigravity runs your agent session and its terminal inside an isolated, Google-managed remote environment in the cloud.
- Does my machine need to stay on? No. You can close your browser tab, shut your laptop lid, and put it in your backpack — the Remote Agent keeps executing commands in the background.
- What files can it see? Because it does not touch your local hard drive, you attach Resources to a Remote Project: GitHub repositories, Google Drive files, and uploaded files (which are staged inside the remote environment at /home/antigravity/upload).
A side-by-side comparison is shown below:

Please note that the following is what I understand at the time of writing this article (7-Nov-2026). This could change.
Plan & Account Availability for Remote Agents
Remote Agents are available to Google AI Pro and Google AI Ultra subscribers signed in with a personal Google Account (rolling out gradually). They are not available on the free plan, on Google AI Plus, or for business accounts (Google Workspace or Google Cloud).
Switching Between Both
On antigravity.google.com, use the instance switcher (in the left sidebar above Settings on desktop browsers, or in the top bar on mobile) to switch between Remote Conversations (Remote Agents) and any of your connected local machines (Remote Control)
Hello World #1: Setting Up & Testing Remote Control
Let’s create a small local folder on your workstation, turn on Remote Control, and ask the agent from a browser to inspect and fix a local Google Cloud config file.
Step 1: Set Up the Local Starter Files
Create a folder called part-1-hello-world/01-remote-control-hello/ on your machine with two files:
sample_gcp_config.json, a local config file pointing to Cloud Run, Firestore, and Cloud Storage, intentionally missing the bigquery_dataset key:
{
  "project_id": "acme-commerce-dev",
  "region": "us-central1",
  "cloud_run_service": "checkout-api-dev",
  "firestore_database": "(default)",
  "cloud_storage_bucket": "gs://acme-checkout-receipts-dev"
}
Next, create a file named env_check.py, which is a Python script that prints your local machine's hostname and checks whether all required Google Cloud keys exist in sample_gcp_config.json:
#!/usr/bin/env python3
"""Part 1 (Remote Control Hello World): Local workstation environment & config check."""

import json
import os
from pathlib import Path
import platform
import socket
BASE_DIR = Path(__file__).resolve().parent
CONFIG_FILENAME = (
    "sample_gcp_config_fixed.json"
    if os.environ.get("TEST_FIXED") == "1"
    else "sample_gcp_config.json"
)
CONFIG_PATH = BASE_DIR / CONFIG_FILENAME
REQUIRED_KEYS = [
    "project_id",
    "region",
    "cloud_run_service",
    "firestore_database",
    "cloud_storage_bucket",
    "bigquery_dataset",
]

def main() -> int:
    print("=== Antigravity Remote Control: Local Workstation Check ===")
    print(f"Host Machine : {socket.gethostname()} ({platform.system()} {platform.release()})")
    print(f"Working Dir  : {Path.cwd()}")
    config = json.loads(CONFIG_PATH.read_text(encoding="utf-8"))
    missing = [key for key in REQUIRED_KEYS if key not in config]
    print("\nLoaded Google Cloud Dev Config:")
    for key, val in config.items():
        print(f"  - {key}: {val}")
    if missing:
        print(f"\n[WARN] Missing required config keys: {', '.join(missing)}")
        return 1
    print("\n[OK] All required Google Cloud config keys are present!")
    return 0

if __name__ == "__main__":
    raise SystemExit(main())
Step 2: Run It Locally to See the Initial Warning
Run env_check.py in your terminal:
python3 part-1-hello-world/01-remote-control-hello/env_check.py
You should see the following output:
=== Antigravity Remote Control: Local Workstation Check ===
Host Machine : romin-mac.roam.internal (Darwin 25.6.0)
Working Dir  : /Users/romin/agy2-projects/remote-agents-tutorial

Loaded Google Cloud Dev Config:
  - project_id: acme-commerce-dev
  - region: us-central1
  - cloud_run_service: checkout-api-dev
  - firestore_database: (default)
  - cloud_storage_bucket: gs://acme-checkout-receipts-dev
[WARN] Missing required config keys: bigquery_dataset
Step 3: Enable Remote Control (App or CLI)
You can turn on Remote Control from either the Antigravity App or the Antigravity CLI (agy):
In the Antigravity App
- Open Settings (Cmd + , on macOS or Ctrl + , on Linux/Windows).
- Go to the Application section and toggle Enable Remote Control to On.
- (Optional) Set a Device Name such as workstation-primary.
The screen should look something like this:

4. Open antigravity.google.com on any browser, sign in with the same Google Account, and pick workstation-primary from the instances list shown. For e.g. a sample screen is shown below:

You can see that the workstation-primary is shown and I can connect to it. When I click on the Connect button, the Antigravity interface opens up as shown below and it is actually a window into the remote machine.

You can see that if you had more than one remote machines, you can choose them from the remote instance switcher that is just above the Settings in the lower left corner. Currently it is showing just workstation-primary.
In other words, you can be on the move, just launch antigravity.google.com in the browser, connect to the Antigravity remote machine of your choice and give the commands. As simple as that.
In the Antigravity CLI (agy)
Similarly, we can even setup Antigravity CLI as a remote control instance, as follows. I have Antigravity CLI (agy) setup on my local machine. I can launch a remote controlled instance as follows.
- Inside an active agy session, run /remote-control (or launch directly with agy –remote-control).
- The CLI opens a reverse tunnel and prints a direct link:
> /remote-control
  ⎿  Remote control on for this session.
     Hostname: romin-mac-roam-internal-solar-signal
     Open https://antigravity.google.com/r/d7ecd0c4-e150-45a1-a9f0-fc1a80bc3d34-v2 on another device to take over.
In fact, now when I visit antigravity.google.com, I see two remote control instances that I can connect to:

You can connect to anyone of them and give your commands remotely. Do remember that for example, if you shutdown down your Antigravity CLI (agy) instance, you will not see that in the list of Remote Control Instances. You can try it as an exercise.
Additionally, notice that if you have more than 1 remote control instances, then in the instance that you have connected to, you can instance switch between the remote control instances via the instance switcher as mentioned earlier:

Step 4: Send Your First Remote Control Prompt
As a sample, you can connect to any of the Remote Control instances and give the following prompt in the correct Antigravity project, where the configuration and Python files were created i.e. folder part-1-hello-world/01-remote-control-hello/.
Run `env_check.py`.
Then add `"bigquery_dataset": "acme_analytics_dev"` to `sample_gcp_config.json` and re-run `env_check.py` to confirm it reports `[OK]`.
What You Will See
As soon as you submit the prompt from your browser, you will see it stream live on your local workstation. The agent updates the file on your local disk (sample_gcp_config_fixed.json) and re-runs env_check.py. Here is the sample screenshot that shows the live run in the browser for our remote instance:

Hello World #2: Setting Up & Testing Remote Agents
Now let’s try Remote Agents and see how it differs from Remote Control. Because a Remote Agent runs inside Google’s isolated cloud environment — not on your laptop, it cannot see your local disk. Instead, it works with Resources you attach to the Remote Project (such as uploaded files staged at /home/antigravity/upload, GitHub repositories, or Google Drive files).
Step 1: Start a Remote Project and Attach sample_gcp_config.json
You can start a Remote Project from either the Antigravity App or any browser at antigravity.google.com:
From the Antigravity App:
- Click + next to Projects in the left sidebar and select New Remote Project.

2. Click Add Resource > Uploaded files and select the sample_gcp_config.json file from Hello World #1.

3. Name the project hello-remote-agent and click Create.
From Any Browser:
- Open antigravity.google.com and sign in with your eligible personal Google Account.
- Click Create Project next to Projects, attach sample_gcp_config.json under Uploaded files, and create the project.
When the Remote Project starts, Antigravity automatically stages your uploaded file inside the remote container at /home/antigravity/upload/sample_gcp_config.json. In my case, I uploaded the sample_gcp_config.json file that had the bigquery_dataset value configured.
Step 2: Send Your First Remote Agent Prompt
You don’t need to write any Python script beforehand , just send this prompt in your Remote Project:
Print the hostname and OS of the machine you are running on,
list the files inside `/home/antigravity/upload`,
and check whether `/home/antigravity/upload/sample_gcp_config.json`
contains `project_id`, `region`, `cloud_run_service`, `firestore_database`,
`cloud_storage_bucket`, and `bigquery_dataset`.
Step 3: What You Will See
Even if you close your browser tab right after hitting Enter, the Remote Agent runs the check inside its isolated Linux container and reports back:
1. Hostname and OS
Hostname: sandbox
OS: Debian GNU/Linux 12 (bookworm) (Linux sandbox 6.12.105+ x86_64 GNU/Linux)
2. Files in /home/antigravity/upload
sample_gcp_config.json (252 bytes)
3. Contents Check for sample_gcp_config.json
Yes, the file contains all 6 requested keys:
project_id: "acme-commerce-dev"
region: "us-central1"
cloud_run_service: "checkout-api-dev"
firestore_database: "(default)"
cloud_storage_bucket: "gs://acme-checkout-receipts-dev"
bigquery_dataset: "acme_analytics_dev"
If go to antigravity.google.com, I can see that the Remote Project is available and the Agent conversation and response are already present. So I can take off from here too.

Notice the three differences compared to Hello World #1 (Remote Control):
- Different Host Machine: Instead of your laptop (romin-mac.roam.internal / Darwin), the command ran inside an isolated Linux container in Google's cloud.
- Staged Uploads (/home/antigravity/upload): The agent only sees the file you explicitly attached to the project (sample_gcp_config.json), not the rest of your laptop's filesystem.
- Runs While You Are Offline: Your laptop does not need to stay awake while the Remote Agent works.
Quick Recap
Before we move on to full-scale Google Cloud scenarios in Parts 2 and 3, let’s recap what we covered here:
- One Browser UI, Two Execution Models: Both Remote Control and Remote Agents are accessible from antigravity.google.com, and you can switch between them at any time using the instance switcher.
- Remote Control Runs on Your Machine: When you enable Remote Control in the Antigravity App or via /remote-control in the agy CLI, the agent runs commands directly on your workstation (romin-mac.roam.internal) against your local files, tools, and credentials, as long as your machine stays awake and online.
- Remote Agents Run in Google’s Cloud Sandbox: When you start a Remote Project, the agent executes inside an isolated, Google-managed Linux container (with uploaded files staged at /home/antigravity/upload) and keeps working even if you close your browser tab or shut your laptop lid.
Here’s an infographic generated by Gemini Notebook that captures the essence of “A Tale of Two Remotes”:

Coming Up Next
Beyond the simple “Hello World” scripts we just ran, we are going to be looking at some practical examples for both Remote Control and Remote Agents in the next parts of this series. Stay tuned. We will first look at Remote Control use cases in Part 2 and then Remote Agents in Part 3.
Working Remotely with Google Antigravity: The Complete 3-Part Guide to Remote Control & Remote… was originally published in Google Cloud – Community on Medium, where people are continuing the conversation by highlighting and responding to this story.
Source Credit: https://medium.com/google-cloud/working-remotely-with-google-antigravity-the-complete-3-part-guide-to-remote-control-remote-05a2703b245e?source=rss—-e52cf94d98af—4
About the Author