
I’ve spent a lot of time messing around with Google Antigravity over the last several months and it’s been fun seeing how folks in the community are using it to help them across a wide range of programming tasks.
For those unfamiliar, Google Antigravity is an agentic development platform that leans into several AI-enabled features, including autocompletion, natural language code commands, and context-aware agents that can be configured to your needs. Antigravity also features a browser agent to run tasks in your browser.
As part of the VSCode ecosystem, Antigravity supports most VSCode extensions, including Cloud Code, which enables direct access to Google Cloud resources right from within your IDE. By virtue of working in the data engineering space, of all the Google Cloud products out there I have probably spent the most time using the Apache Spark offerings (ok, except for maybe BigQuery). In this blog, I will walk you through how to set up your Antigravity environment to connect to a Google Cloud Serverless for Apache Spark runtime in a notebook environment without leaving your IDE.
Install and configure the Cloud Code and Jupyter extensions
Assuming you’ve downloaded and logged into Antigravity with your Google Workspace account, the next step is to install the Cloud Code VSCode Extension. Click the Extensions button in the side bar, search for “google cloud” and click Install next to Google Cloud Code. If you don’t immediately see it, scroll down. Your installation should complete in about 30 seconds.

Once completed, click the settings button that replaced the Install button and click Settings.

Scroll down a bit until you see Cloudcode > Beta: Dataproc Region. Select your desired region. If you plan to use BigQuery, you may set your BigQuery Region as well.
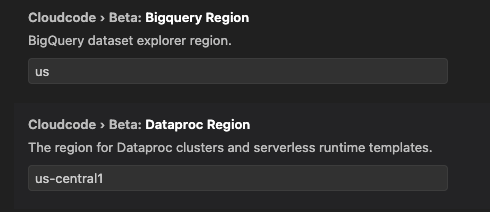
Scroll down a bit more until you see Clodecode: Project and input your project ID.

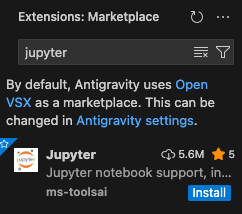
Next, go back to the Extension Marketplace and search for “jupyter” to install the Jupyter notebook extension. Click Install.
You should be good to go! If you don’t see the Cloud Code icon in your sidebar, simply restart Antigravity and it should show up.

Creating a serverless Spark template
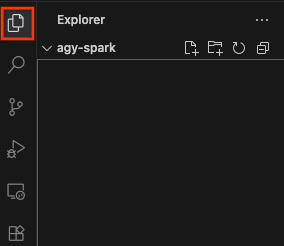
Before proceeding, make sure you have a workspace open. You can do so by clicking Explorer in the side bar and opening any folder.
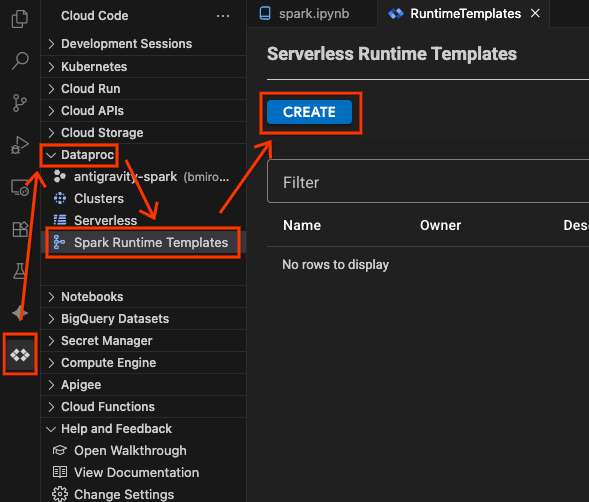
Next, click the Cloud Code extension, then click Dataproc. Here, you’ll see all of your Apache Spark runtimes on Google Cloud, including Dataproc Clusters and serverless sessions. Click Spark Runtime Templates to create a new runtime template, then click Create. This is a template you will use to create a connection to a serverless Spark runtime.
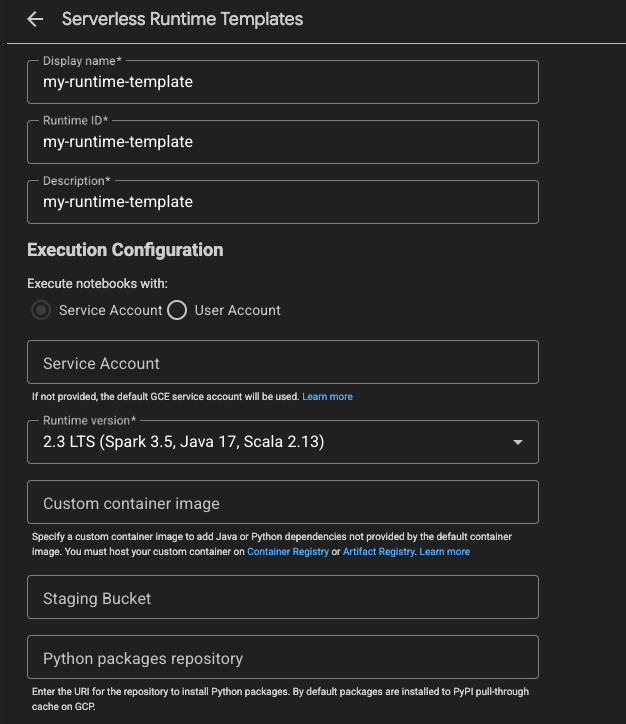
In the Create tab, put a Display name, Runtime ID, and Description for the template. You can use “my-runtime-template”. For the Runtime version, you can click this to select version 2.3. Leave everything else as is, scroll down and click Save.
Great! You should now see this template in the list of your Serverless Runtime Templates. Let’s now make a notebook connection.
Connect to a serverless Spark runtime
In the Cloud Code extension, click Notebooks and then New Notebook

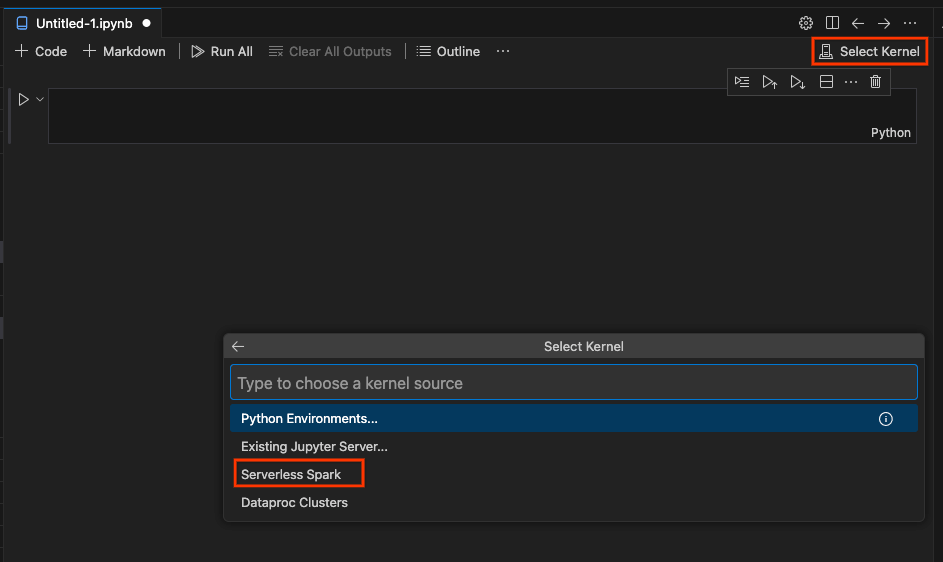
Click Select Kernel and then Serverless Spark.
Click your runtime template name, which will populate the first cell of your notebook with a block of code. This installs the dataproc-spark-connect library and creates a connection to the serverless Spark runtime. This is enabled using the Spark Connect API.

Before running the code, name and save the notebook. Then go ahead and try running the code by clicking the button next to the code cell.

You’ll be asked to select a kernel again. This time, select Python Environments. Choose a local runtime or Create a new Python environment. Python 3.11 will work best as this is the version of Python running in the serverless Spark runtime.

Once you do this, the cell will execute, which will install the library and establish the connection to the serverless Spark runtime! You can click Dataproc Session to view session creation in the Cloud Console.
After about 60 seconds, creation should finish. You can go ahead and start writing your Spark code and execute it on your new runtime.
Have an Antigravity Agent generate PySpark code
You can ask the Antigravity Agent to generate PySpark code and add it to the notebook. Try asking the following prompt:
In this notebook, add a cell that creates a dataframe with 5 random numbers and then sums them
After a bit of time (and, depending on the permissions you gave the agent, some permission for the agent to succeed), you’ll see some code generated in the notebook similar to the following:
from pyspark.sql.functions import rand, sum as _sum

# Create a DataFrame with 5 random numbers
df = spark.range(5).withColumn("random_numbers", rand())

# Add the random numbers together
total_sum = df.select(_sum("random_numbers")).collect()[0][0]

df.show()
print(f"Total Sum: {total_sum}")
Go ahead and run it. The output will likely be a bit noisy but after a few seconds you’ll see the output of this code.
What’s next
You did it! You successfully connected to and ran Spark code from inside Antigravity. To learn more about Google Cloud Serverless for Apache Spark, check out the docs!
Connect to a serverless Apache Spark notebook in Google Antigravity was originally published in Google Cloud – Community on Medium, where people are continuing the conversation by highlighting and responding to this story.
Source Credit: https://medium.com/google-cloud/connect-to-a-serverless-apache-spark-notebook-in-googleantigravity-380b59e49c13?source=rss—-e52cf94d98af—4


